Новый XR2206 высокоточный сигналогенератор комплектующие для DIY с корпусом акриловая синусоида
Offer ID: 590481544688
Оформить заказ
| Изображение | Модель | Цена (CNY / RUB) | В наличии | SKU ID | Кол-во / Корзина |
|---|---|---|---|---|---|
📦 | XR2206 blackboard parts | 1шт: ¥11.81, 100шт: ¥11.79, 5000шт: ¥11.12 | 755888 | 5040326298620 |
Статистика продавца
Свойства товара
Описание товара
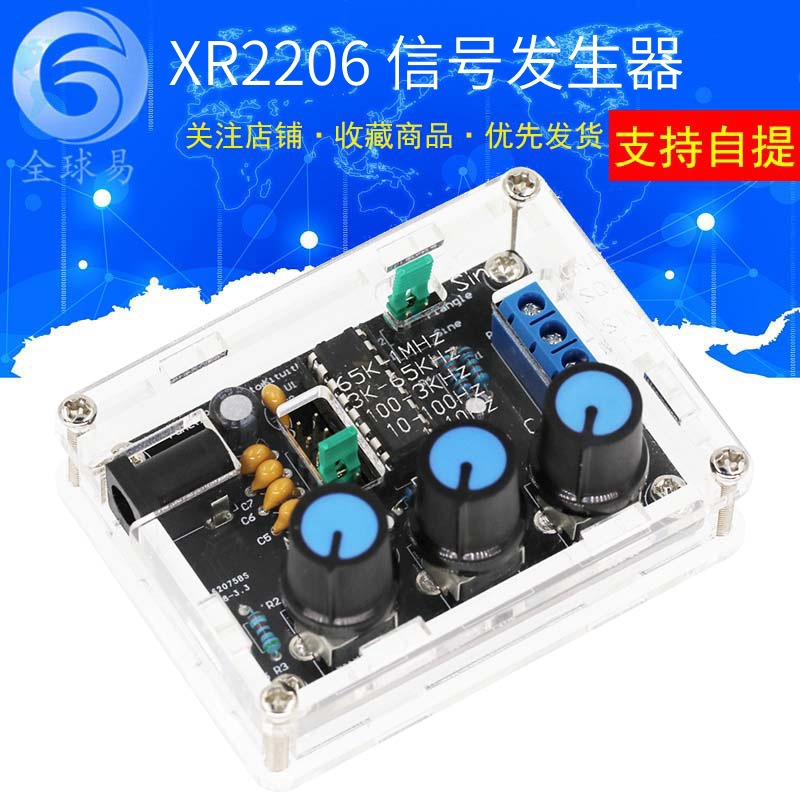
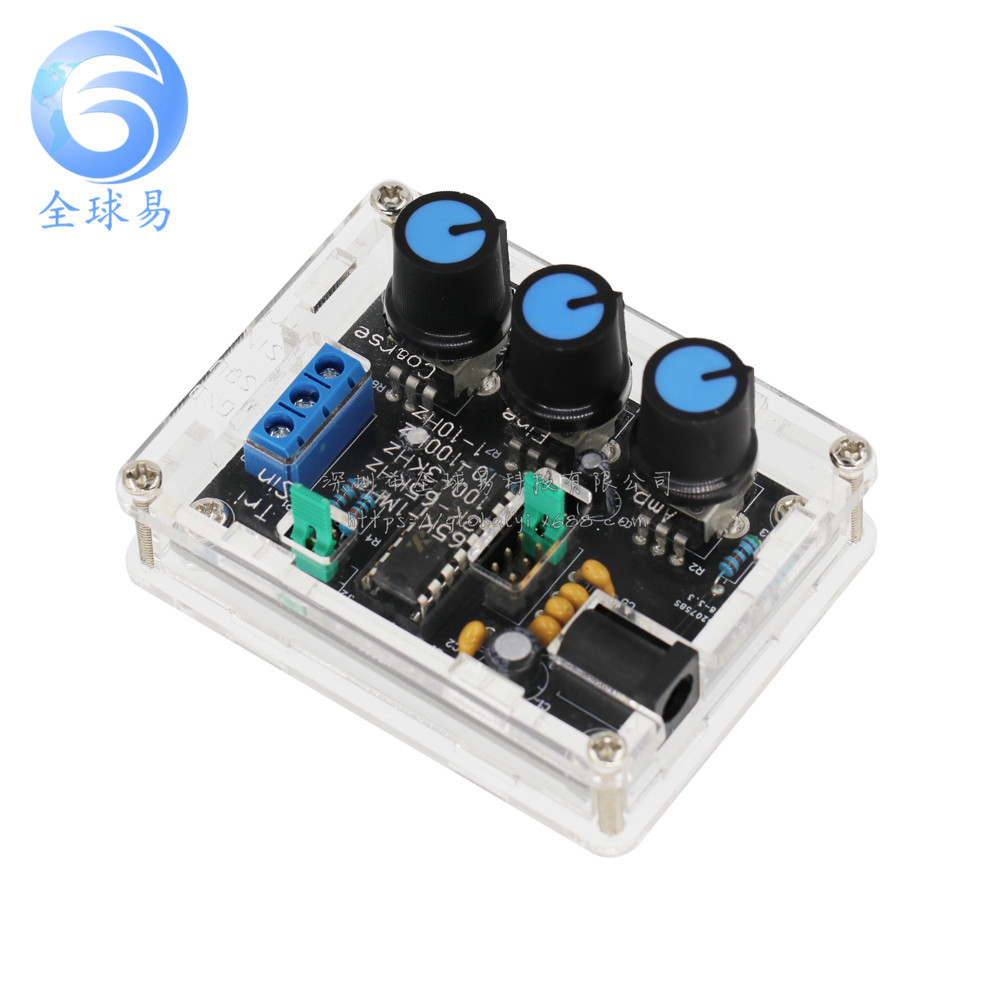
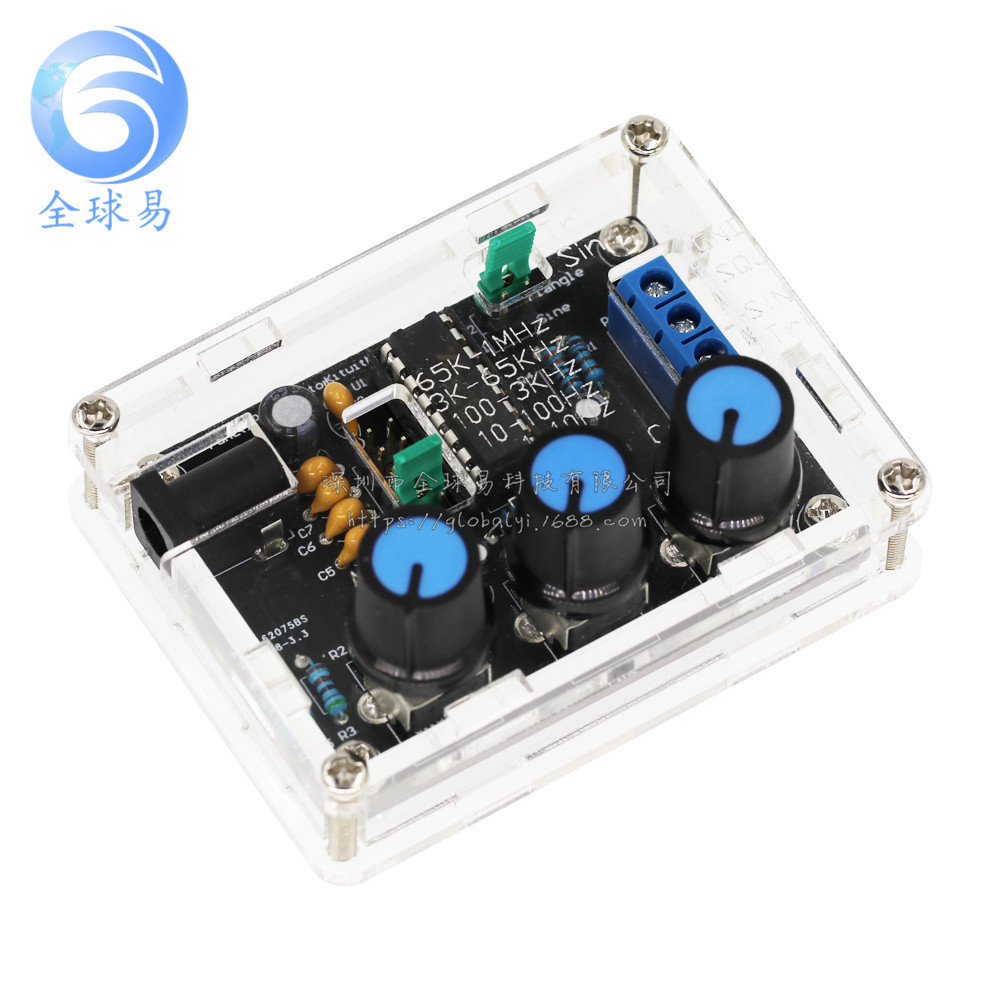
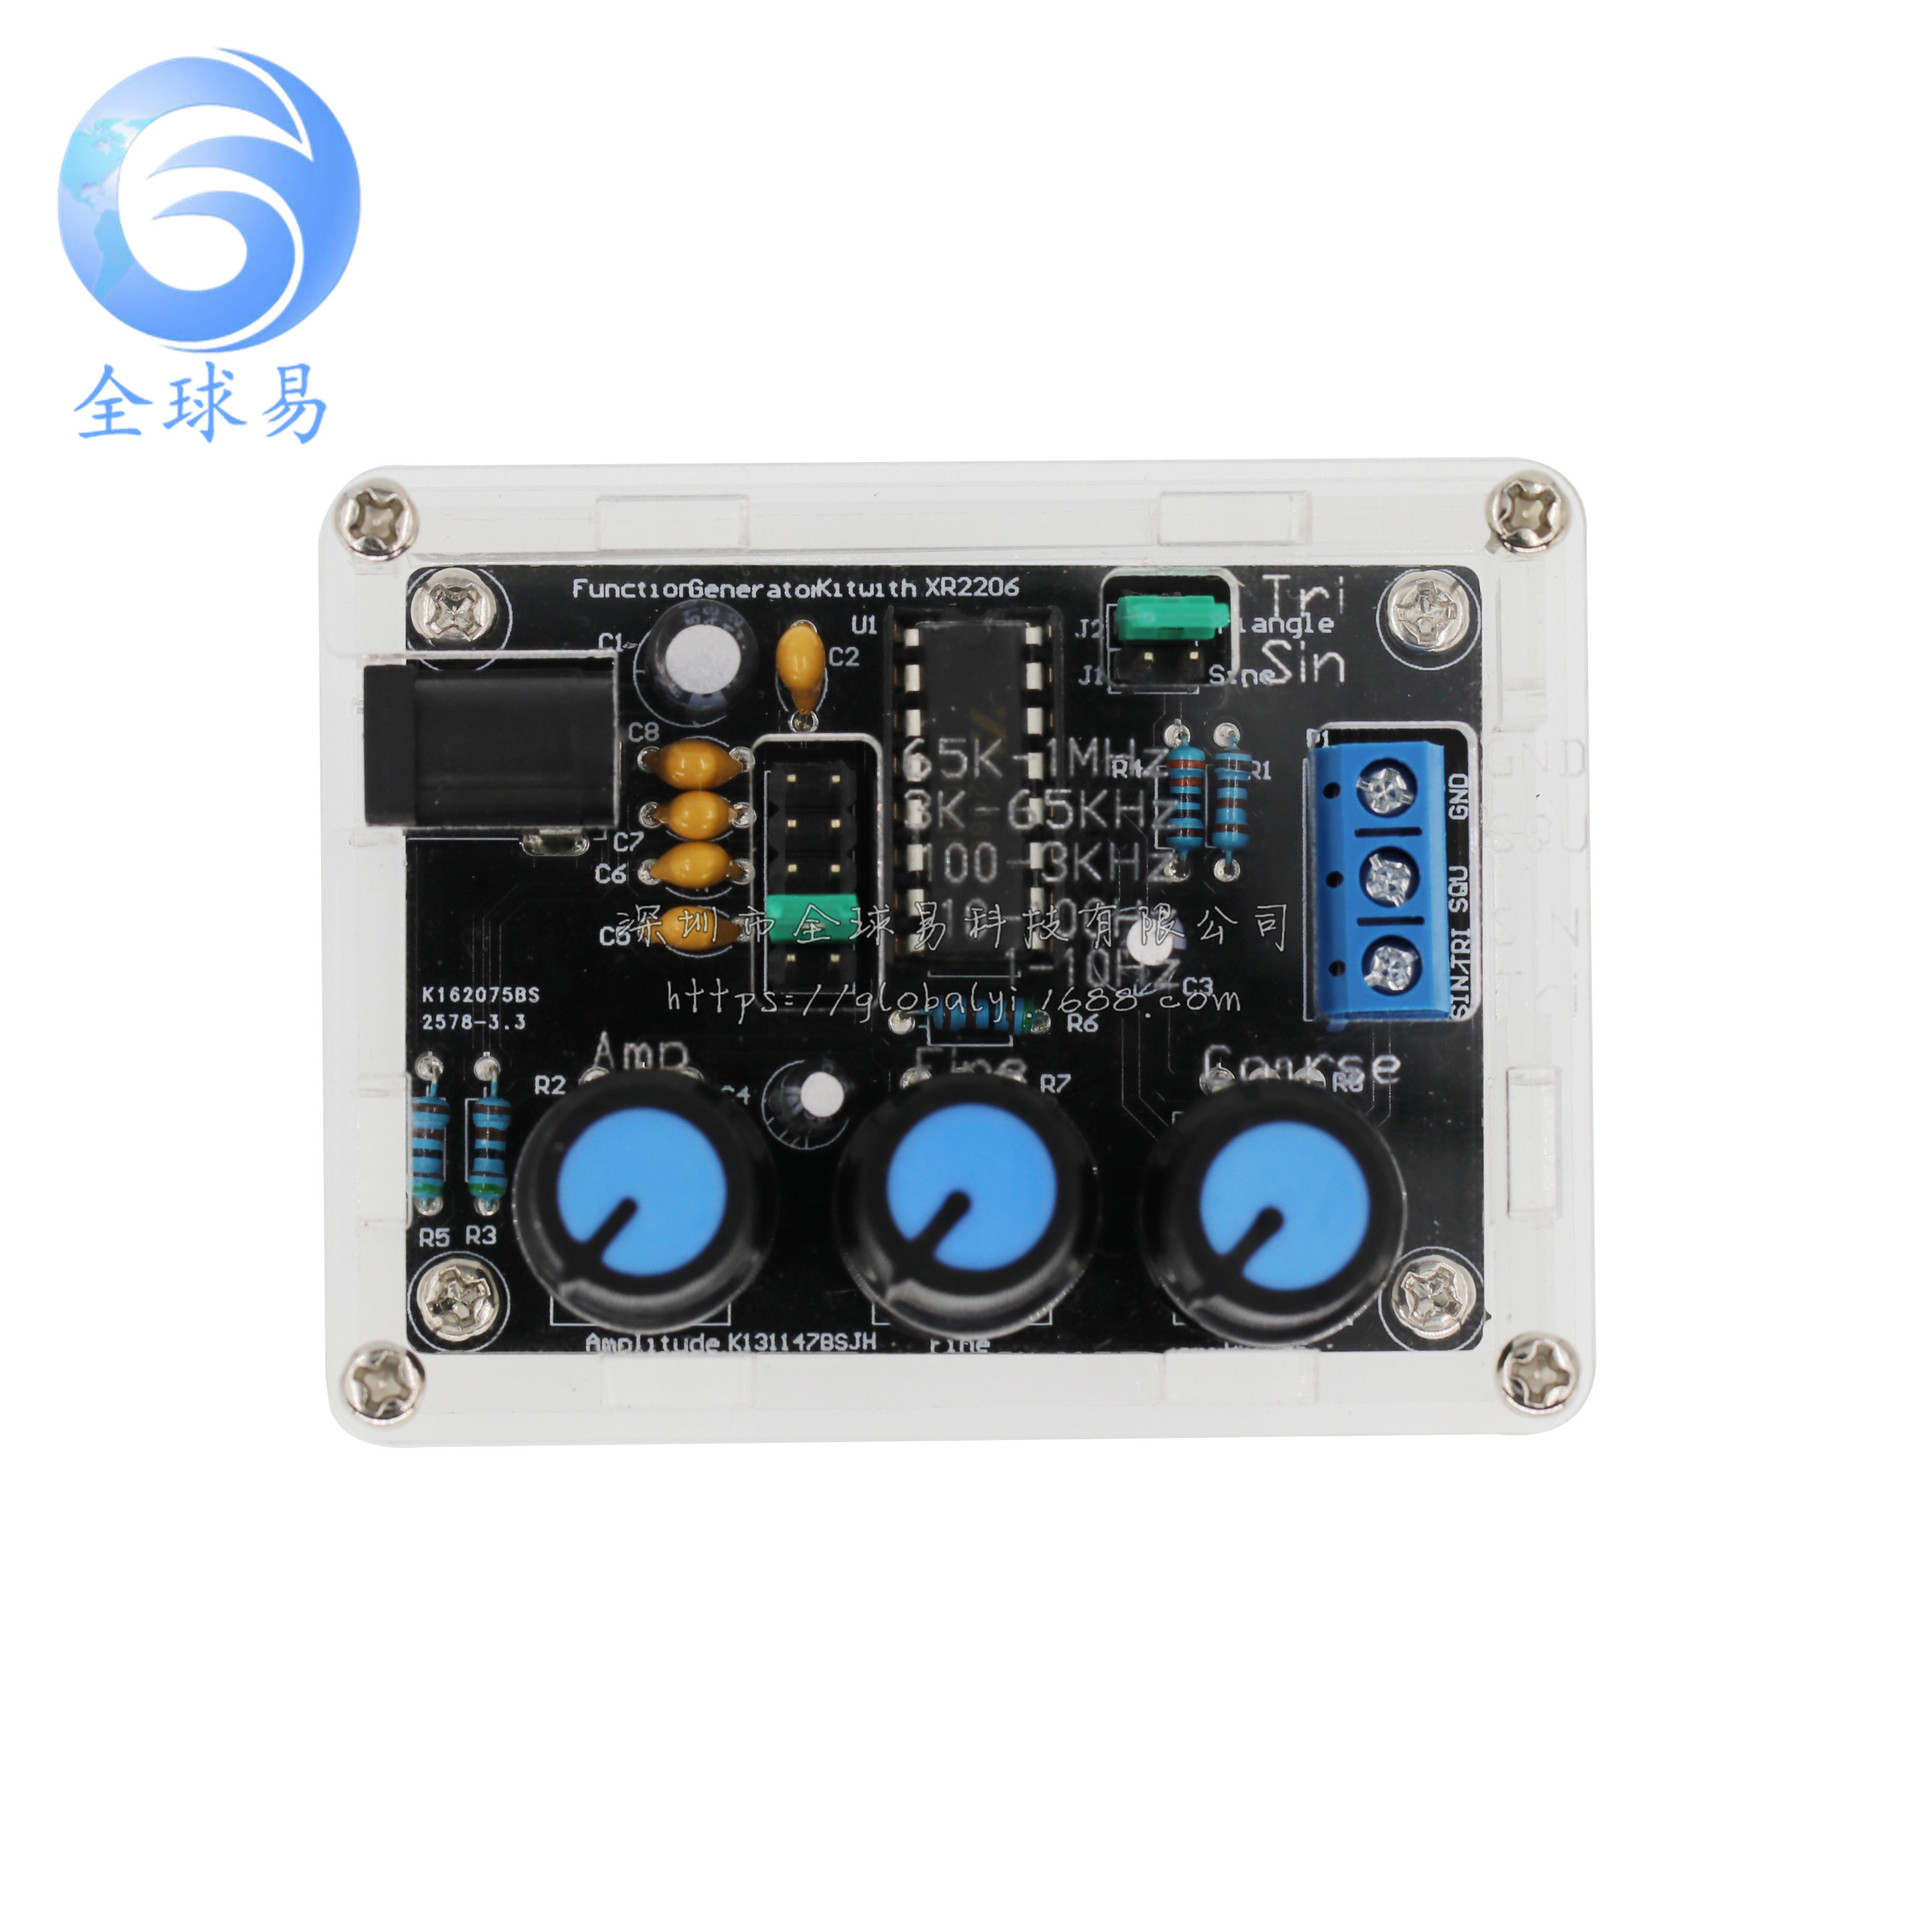
XR2206 高精度函数信号发生器 焊接成品配DIY外壳
(详情提供中英文描述)
中文描述:
电路特点:
• 可产生正弦波,三角波,方波
• 频率能从1HZ-1MHZ
• 频率,幅度可调;
• 五位精度分辨率;
• 频率调节具有粗调,细调;
• 全部直插元件,元件数量少 ,安装调试简单。
英文描述:
Technical Specifications:
Voltage Supply: 9-12V DC Input
Waveforms: Square, Sine & Triangle
Impedance: 600 Ohm + 10%
Frequency: 1Hz - 1MHz
SINE WAVE
1.Amplitude: 0 - 3V at 9V DC input
2.Distortion: Less than 1% (at 1kHz)
3.Flatness: +0.05dB 1Hz - 100kHz
SQUARE WAVE
4.Amplitude: 8V (no load) at 9V DC input
5.Rise Time: Less than 50ns (at 1kHz)
6.Fall Time: Less than 30ns (at 1kHz)
7.Symmetry: Less than 5% (at 1kHz)
TRIANGLE WAVE
1.Amplitude: 0 - 3V at 9V DC input
2.Linearity: Less than 1% (up to 100kHz) 10mA
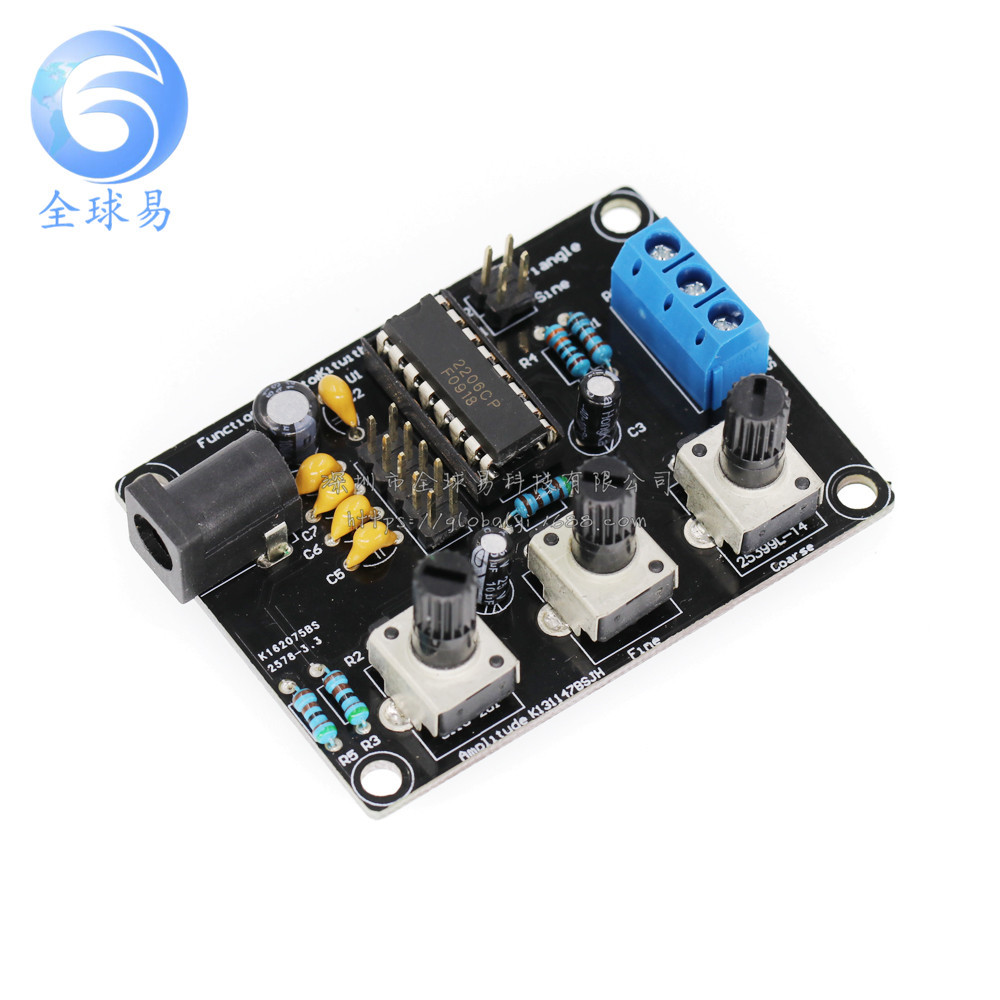
Note | label | type | parameters |
R1 | resistor | Regardless of the polarity | |
R2 | Adjustable resistance | B503=50K | (by screen printing layer) |
resistor | Regardless of the polarity | ||
R4 | resistor | 330 | Regardless of the polarity |
R7 | Adjustable resistance | (by screen printing layer) | |
R8 | Adjustable resistance | B104=100K | (by screen printing layer) |
C1, | Electrolytic capacitor | The positive short feet negative long feet | |
C2 | non-polar capacitors | 104 | |
Electrolytic capacitor | The positive short feet negative long feet | ||
C5 | non-polar capacitors | 105 | Regardless of the polarity |
C6 | non-polar capacitors | Regardless of the polarity | |
C7 | non-polar capacitors | 222 | Regardless of the polarity |
C8 | non-polar capacitors | 101 | Regardless of the polarity |
U1 | IC | (by screen printing layer) | |
JK1 | DC POWER |
| (by screen printing layer) |
J1 | 2PIN Jumper cap | XM2.54 | Regardless of the polarity |
J2 | 2PIN Jumper cap | XM2.54 | Regardless of the polarity |
P1 | Signal wire terminal |
| |
J3 | 2*5P Jumper cap |
|
|
3The welding installation considerations, follow these steps:
1. The components are welding the front board, from low to high principles, namely the first low welding components, such as, capacitor, resistor, diode, etc.
2.Welding IC socket, terminal blocks, finally power socket, adjustable potentiometer.
3.The back with a diagonal cutting pliers to cut short the pins as far as possible
4 Debugging steps:
1After completion of welding on IC, XR2206, pay attention to the direction of IC, insert the might damage the chip!
2. check the IC whether against, such as anti please timely correction.
3. Insert the power supply, power supply for 5.5 * 2.1 port, inside outside is negative polarity. For 9-12 v power supply voltage. The waveform may not be stable for more than 12 v
5 Using the step
1. J1 jumper cap plug in, SIN/TRI blue terminals output sine wave (note J1, J2 can only insert one of)
2. J2 jumper cap plug in, SIN/TRI blue terminals output triangular wave (note J1, J2 can only insert one of)
3. SQU blue terminals output pulse
4. AMP : Sine wave, triangle wave amplitude adjustment
5. FINE : Frequency fine adjustment
6. Coarse : Frequency of coarse adjustment
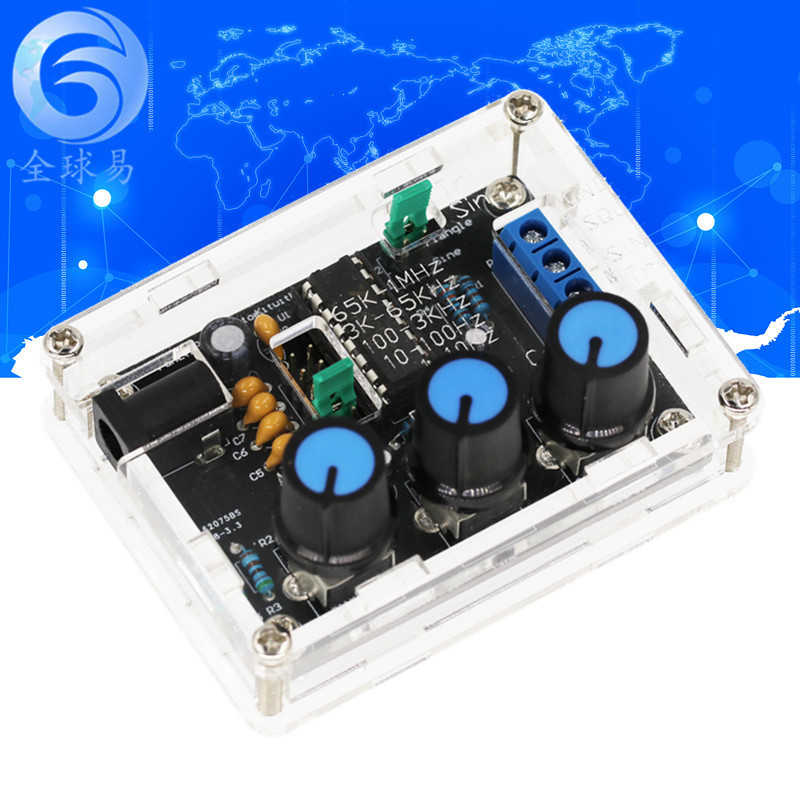
图片展示: